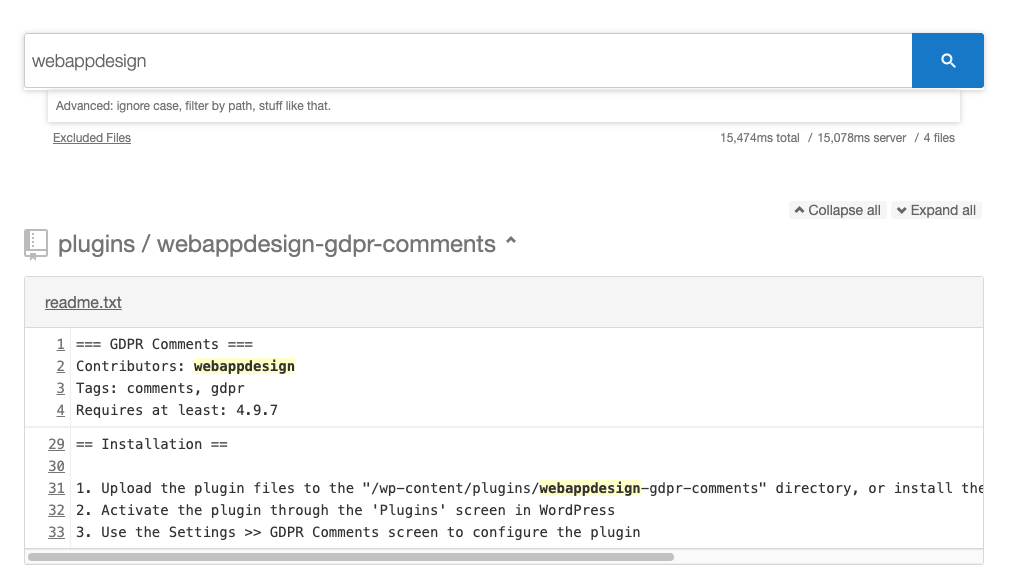
The wpdirectory.net project is fantastic, it is a project by Peter Booker to search using regular expressions strings in the code and text of all files in the WordPress plugin and theme repositories.
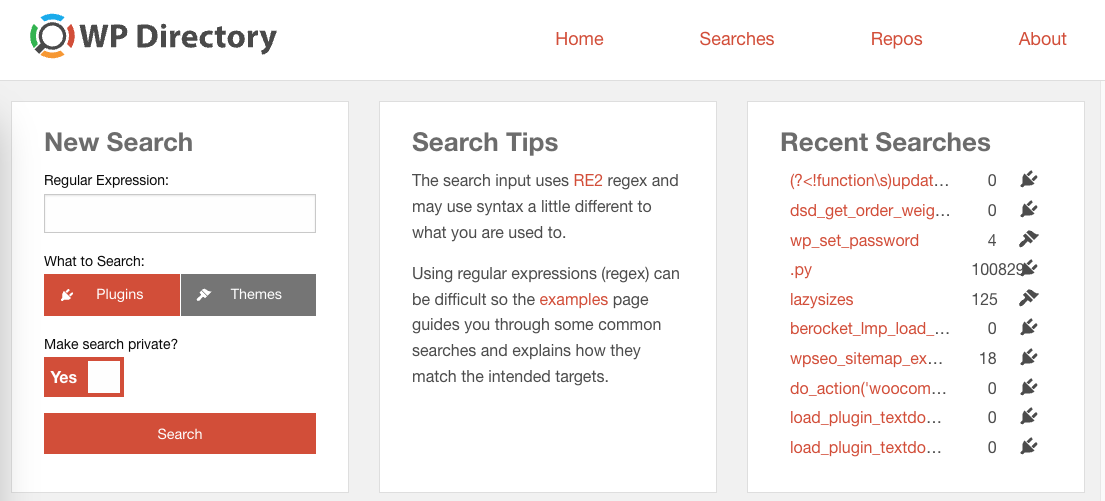
This project is an essential tool for the plugins team, it allows us to search for plugin copies, possible violations of repository guidelines, security issues, and analyze code from the entire repository to improve our internal tools.
Some time ago I considered that, for the sake of resilience, the plugins team needs to have its own version of this tool.
Alternatives
As indicated in the handbook, there are tools to download the repository. There are also tools such as WPDS to search it as well.
Unfortunately, nowadays, this is not very functional because the repository is huge and, even if you use ag to search (which is extremely fast), a search takes about 4 minutes.
This was not an alternative, so I tried to make use directly of the wpdir project, which is open on Github and which, unfortunately, I did not get to work in my environment, but I could see how it works.
wpdir uses:
- wpds to download and update the repository.
- hound, which in uses codesearch, to index the code and allow quick searches using regular expressions.
Thanks to all the people who have contributed to these open source projects we have these tools available and I can make further progress on this article.
Our own search engine
Preparing the environment
We need a server that is powerful enough, with sufficient storage and memory. For this case I used a server with 8 AMD EPYC™ 7002 shared cores, 16Gb of RAM and 240Gb of NvME SSD storage.
The server runs on Ubuntu and has the following additional packages installed:
sudo apt install subversion make npm golang-go silversearcher-ag
In addition, some additional adjustments have to be made to the operating system, since it is going to work with a huge number of files and will make an unusual use of resources.
For this, since I am not a sysadmin, I have simply set large values, I don’t really know what I am doing or what implications it has, if you are a sysadmin you can help me setting these values better.
Add these lines to /etc/sysctl.conf
fs.inotify.max_user_instances = 1024
vm.max_map_count = 262144
Edit these two files:/etc/systemd/system.conf
/etc/systemd/user.conf
In both cases look for the property DefaultLimitNOFILE , uncomment it and leave it as it is:
DefaultLimitNOFILE=262144:5242880
You will need to reboot after applying these changes, and check with ulimit -n that they have been applied.
Download plugins
The first thing we need to execute is wpds, which downloads the entire current WordPress repository and allows you to synchronize the most recent changes.
To do this simply run ./wpds update plugins which will create a folder ./plugins/ where each plugin will be placed in a new folder.
It will currently download more than 60,000 plugins that will take up about 95Gb of space. The process takes about 4 hours.
Configure the search engine
Installation is as simple as follows
git clone https://github.com/hound-search/hound.git
cd hound
make
The configuration is done through a JSON file in which you can indicate from which repositories it will read the information. I have created such a JSON.
{
	"max-concurrent-indexers":2,
	"max-connections":50,
	"dbpath":"db",
	"title":"Plugins search",
	"health-check-uri":"/healthz",
	"repos":{
		"woocommerce":{
			"url":"file:///mnt/plugins/plugins/woocommerce",
			"url-pattern": {
				"base-url":"https://plugins.trac.wordpress.org/browser/woocommerce/trunk/{path}{anchor}",
				"anchor":"#L{line}"
			},
			"vcs":"local"
		}
	}
}
That loads locally from /mnt/plugins/plugins/woocommerce a plugin called woocommerce whose link to the code is https://plugins.trac.wordpress.org/browser/woocommerce/trunk/{path}{anchor}.
This way it will index independently the code of this plugin and then it will be grouped together, also doing this we avoid the technical limit of 4Gb for the index that codesearch has.
This has to be done for the more than 60,000 plugins.
Go ahead, start writing the JSON.
One at a time.
I am waiting.
Well, okay, there is indeed an alternative, but it’s a PHP script, I’m not perfect.
<?php
$dir = "/mnt/plugins/plugins";  // Plugins dir
$items = scandir($dir);

var_dump('Number of repositories: '.sizeof($items));

$hound_config = array(
	"max-concurrent-indexers" => 2,
    "dbpath" => "/mnt/plugins/db",
    "title" => "Plugins Search",
    "health-check-uri" => "/healthz",
	"repos" => []
);

foreach($items as $item) {

	// Allows us creating the indexing in batches.
	$limit = 1000000;
	if(sizeof($hound_config["repos"])>$limit){
		var_dump('Repositories limited to: '.$limit);
		break;
	}

	if(is_dir($dir . DIRECTORY_SEPARATOR . $item) && $item != "." && $item != "..") {
		$hound_config["repos"][$item] = [
			"url" => "file://".$dir."/".$item,
            "url-pattern" => [
	            "base-url" => "https://plugins.trac.wordpress.org/browser/".$item."/trunk/{path}{anchor}",
                "anchor" => "#L{line}"
            ],
            "vcs" => "local"
		];
	}
}

$json = json_encode($hound_config, JSON_UNESCAPED_SLASHES);

file_put_contents("config.json", $json);
This will create this config.json file for all repositories stored at /mnt/plugins/plugins . It has a small condition to limit the number of repositories created, useful for testing first runs.
Execute the search engine
Once the configuration file has been created , hound must be launched with the following command.
./.build/bin/houndd
It will start indexing the contents of all these repositories one by one and copy the contents in text to your directory. This takes approximately 33Gb and the process takes about 5 hours.
Once finished, it will raise a web server on port 6080 from which we can perform our searches.
Keep it running
In order to keep it running, to bring it back up when it fails (which it does in this configuration, since it reaches the memory limit in very generic searches) and to update it, several additional operations must be performed.
System service
Creates the hound system service, creating its service file. nano /etc/systemd/system/hound.service
[Unit]
Description=Hound Daemon
After=network.target
StartLimitIntervalSec=30
[Service]
Type=simple
Restart=on-failure
RestartSec=5
User=hound
ExecStart=/mnt/plugins/hound/.build/bin/houndd -conf /mnt/plugins/config.json

[Install]
WantedBy=multi-user.target
And activate it with the command systemctl enable hound. If the process fails (which is likely to happen, it will automatically restart in about 5 seconds).
Is everything going well? You can check it with systemctl status hound
Update
With all this, upgrading is now a little easier with a small script in BASH.
#!/bin/bash

cd /mnt/plugins
./wpds update plugins
php wpds-to-hound-config.php
systemctl restart hound
Which we can run via cron, maybe once a day.
crontab -e0 9 * * * /mnt/plugins/update.sh
Leave a Reply